 "Charlotte Cake". Cheesecake topped w. fresh berries and wrapped in Lady Fingers.
 10", 8" & 6" tiers.
My wonderful, handsome hubby built me my cake stand and even stopped by my cake supply store to get my supplies! Thank you, honey for eating hotdogs and pizza for dinner for the past 3 nights! ;)

Chocolate Fudge cake w. Rassberry filling and Amaretto Buttercream. Garnished w. white chocolate 'Petals'.
4-layer 10" and 2-layer 7" tiers.
 Red Velvet w. Cream Cheese Buttercream. Garnished w. fresh berries and red Gumpaste Leaves.
8", 6" and 4" tiers


 Red Velvet w. Cream Cheese Buttercream. Garnished w. fresh berries and red Gumpaste Leaves.
8", 6" and 4" tiers


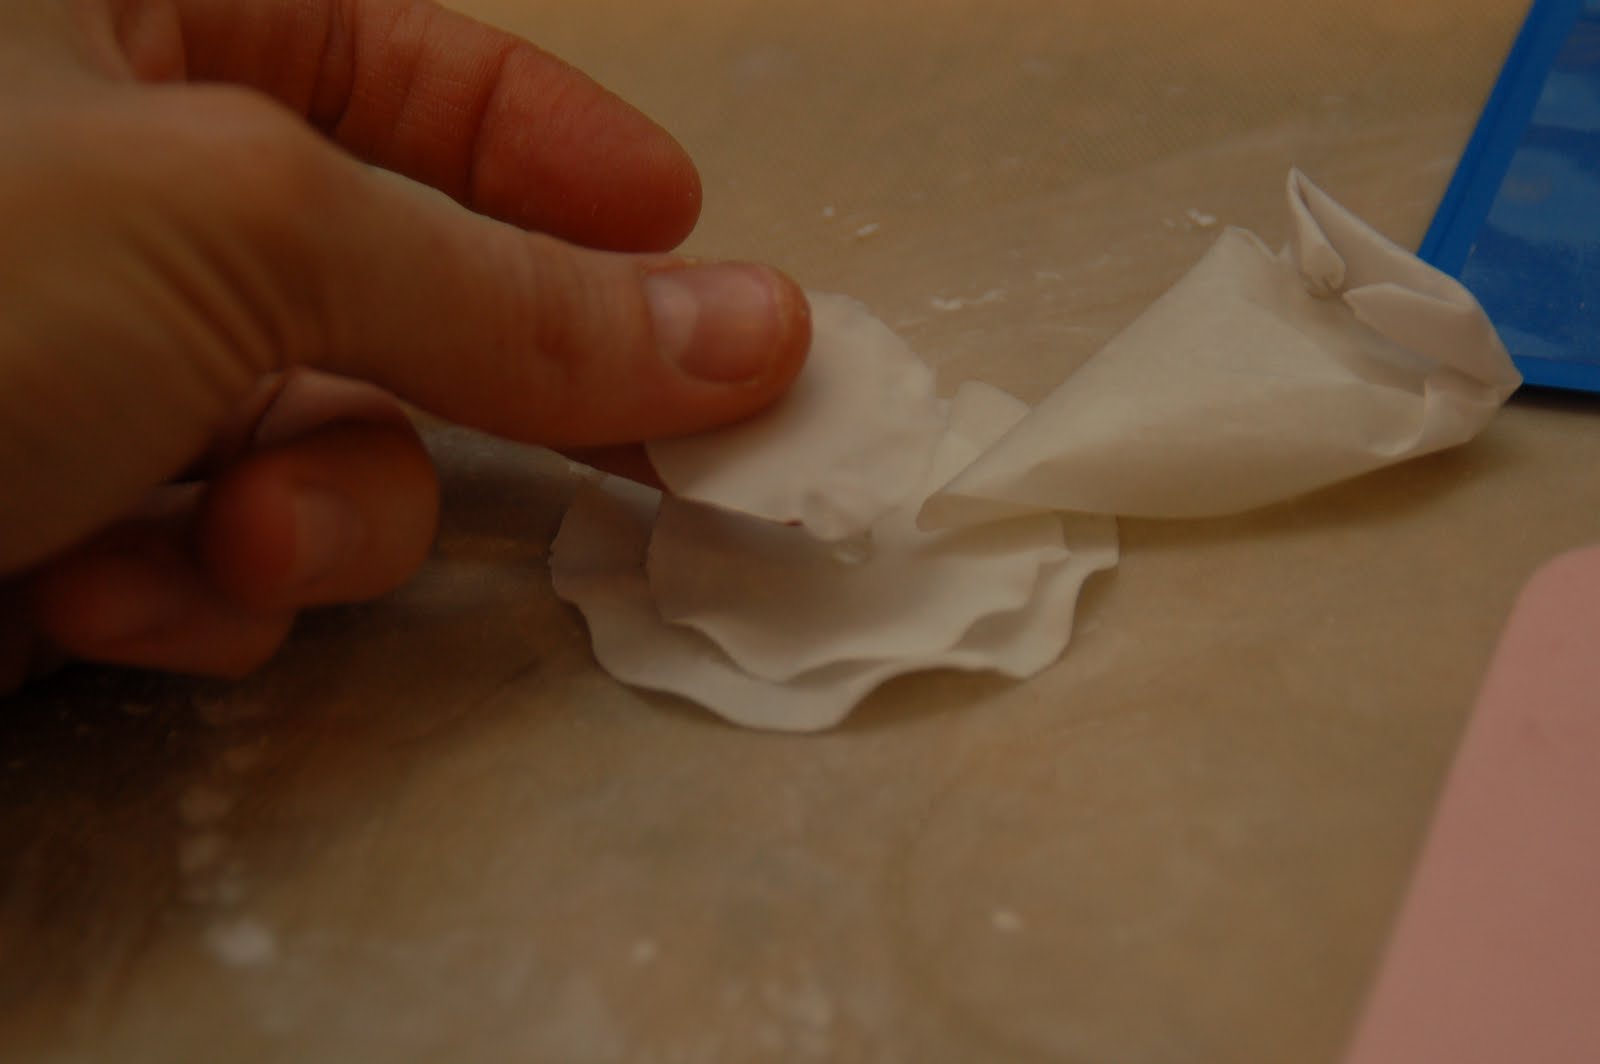
 To Begin:


